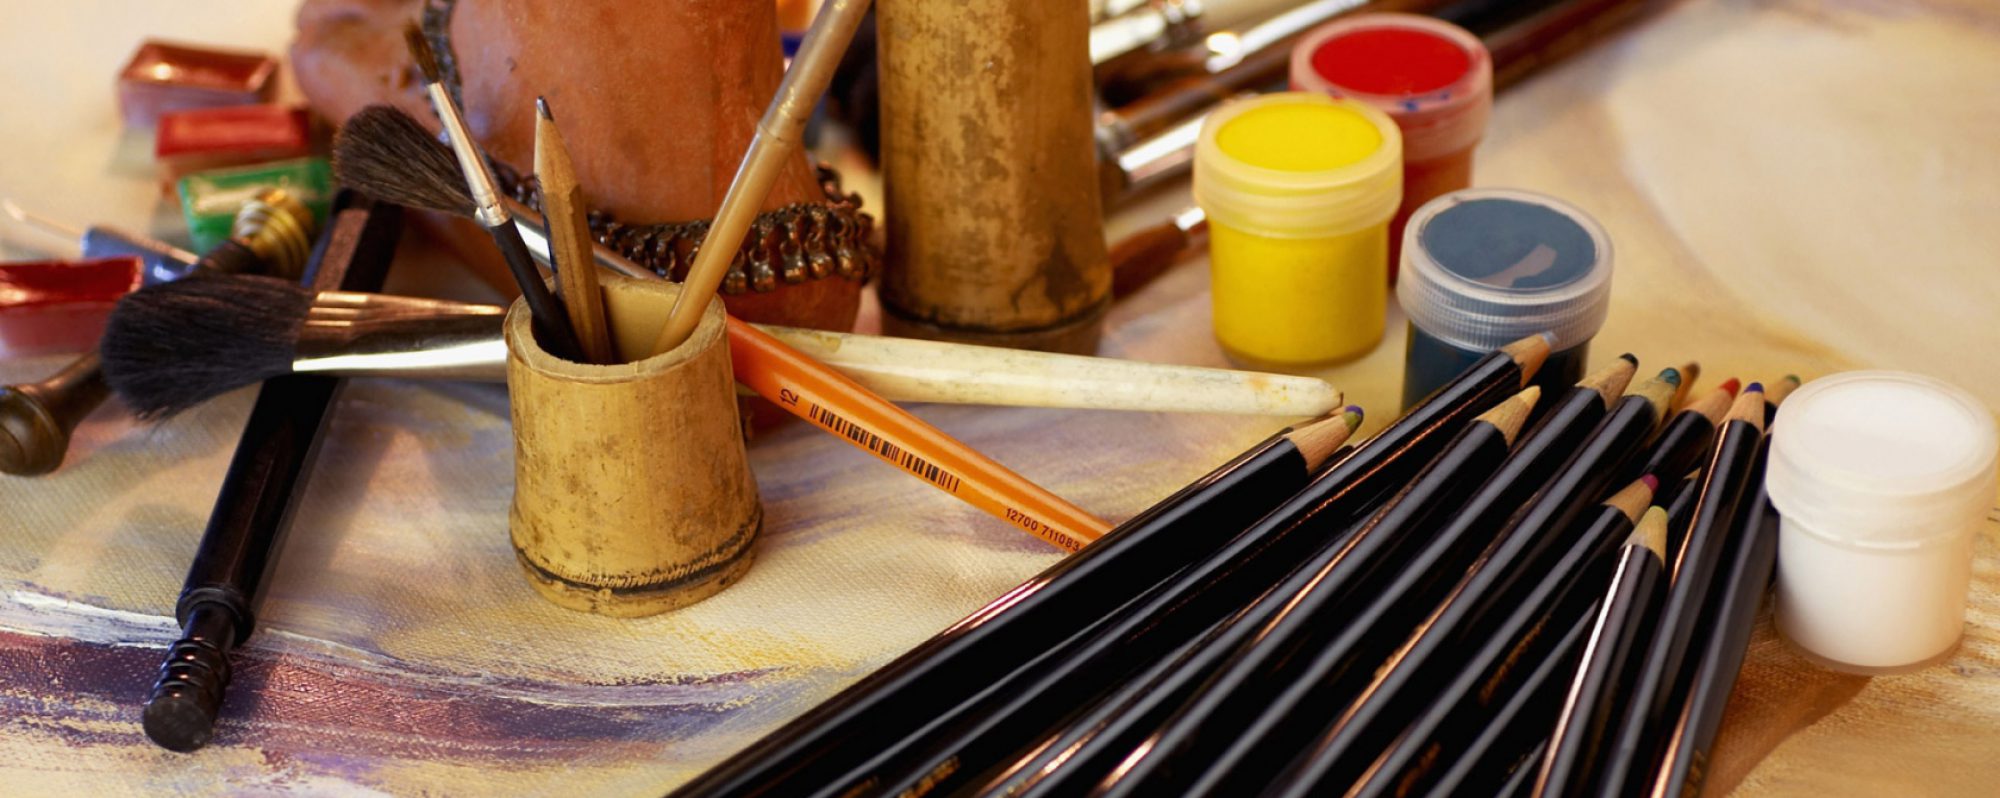


Store Similar Items Together
The key to organizing is to store items that are similar together or that are used for a specific project. For instance, I store all my dies together, but dies with matching stamps are stored together as sets. One of the project items that I store together are my block printing supplies – block printing paint, lino cutters, cutting blocks and baren all go in the same container. This system makes it easy to start a project.
Label Supplies
No matter how you store your supplies, in totes, shoe or decorative boxes, bins or plastic carton labeling the contents on the outside of the container will help tremendously. Labels can be as simple as marking the container with a Sharpie, printing labels out on the computer or using a label maker. I highly recommend the Dymo LetraTag available at Staples – www.staples.com or at Blick’s www.dickblick.com


Store Creatively
The mantra today is repurpose and reuse items. I love the thrill of the hunt when I go thrifting and enjoy finding unusual items for my studio. My latest find is just one example. I have quite a few bottles of ink for fountain pens, as well as India ink for dip pens. While I would love to display the ink bottles, having a new kitten who likes knocking things down makes displaying the bottles problematic. I found a new storage solution when I repurposed an old beat up tool box. Adding new crystal knobs gave it a bit of glitz.


I have tried many ways to store dies and nothing had worked for me. I had seen when some folks used magnetic sheets, placed them on the wall and then adhered the dies to the sheet. This isn’t my preference. Instead I found some very old and sturdy binders, bought magnetic vent covers, cut them to the size of heavy duty three ring page protectors and store the dies this way. Binders are set up by shapes, holidays, word, birds and flowers. The front of the page protector has the packaging from the die and the back magnetic side holds the dies.


I like to take notes when I go to a class, watch a YouTube video or try a new technique. What ended up happening was that I had scraps of paper or sticky notes scattered around. Now I keep one notebook for all my my jottings. I use washi tape at the top of each new idea page. I also add information on the when, where and whom taught the technique. If written instructions are given in the class, I place them in the book with washi tape.

Tips
Gather like items together before you start to organize. Purge any items that you no longer use. Donate to schools, nursing homes, homeless shelters or charity store.
Be creative and reimagine items for storage solutions.
Please be sure to comment, like, share and follow me! Cheers!

