
When was the last time you created a collage of images? Grade school? High school art class? Well, it’s time to again try collage to add interest and dimension to your art projects. Collaging has been around for decades and the steps are very simple.


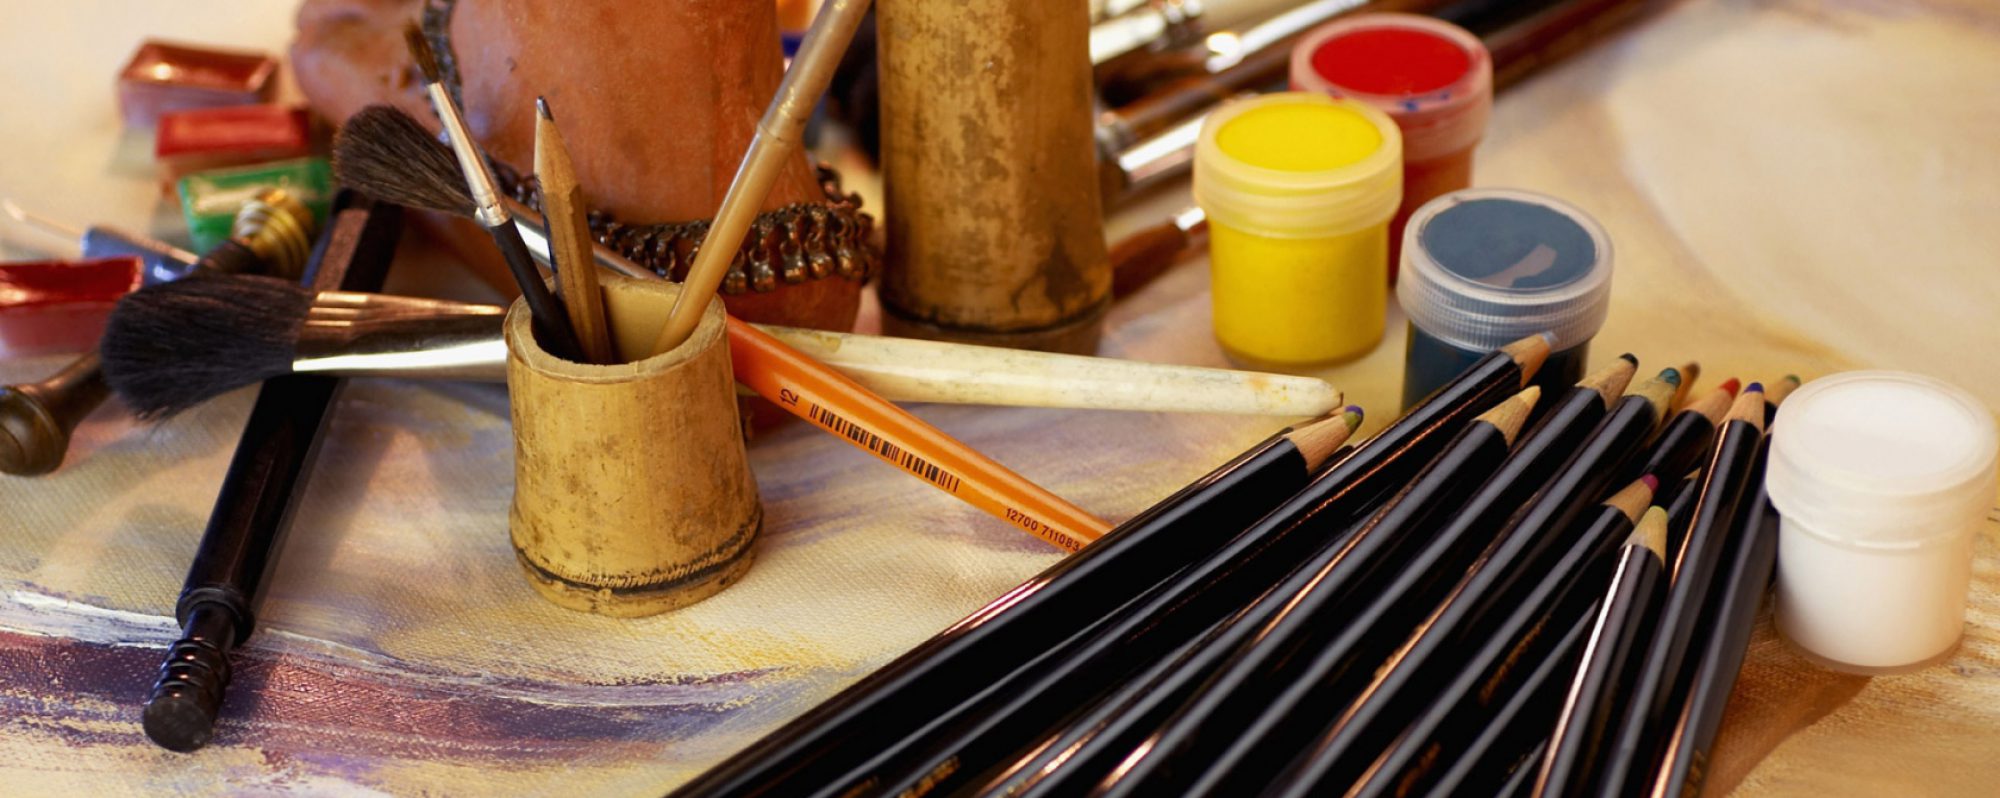
Supplies
- Ephemera – think outside the box and collect lots of items – pages from books, maps, recipe cards, calendars, receipts (old handwritten), handwritten letters and notes, greeting cards, tissue paper, dress pattern tissue, embroidery transfer tissue, coloring book pages, flash cards, match book covers, address book pages, onion skin typing paper, postage stamps, sheet music, library index cards… Personally, I don’t use images from glossy magazines, but feel free to incorporate.
- Gel medium like Golden Regular Matte Gel – www.dickblick.com or Yes Paste https://www.amazon.com/YES-Glue-Yes-Paste-Pint/dp/B01M5HA0X2.
- Glue stick. My favorite is the UHU glue stick available on Amazon – www.amazon.com.
- 1“ – 2 “ craft paint brush
- Paper to adhere collage to. You can collage the ephemera to any size paper. Think outside the 8.5” x 11” rectangle. Kraft paper comes in big roll and is fairly inexpensive. Kraft paper bags are a great option too.
- Scissors
Optional Supplies
- Plastic table cloth
- Heat gun – I have had several and I like the Wagner Studio Precision heat gun – www.amazon.com
- Acrylic paint – I like PaperArtsy Acrylic Paints www.paperartsy.co.uk, but you can use any brand.
- Water
- Paper towel
- Spray bottle – Tim Holtz mini mister spray – www.timholtz.com
- Ink pads to edge paper not to stamp images on the paper
- Stamps – if stamping images use a waterproof ink – Stazon Tsukineko – www.tsukineko.com or Amazon – www.amazon.com.
- Blending tool for ink pads
- India inks
- Color pencils – I like Stabilo and Prismacolor pencils – www.dickblick.com
- General’s charcoal pencil extra soft – www.dickblick.com
- Ink pens – Platinum Carbon is my all time favorite and very inexpensive – Amazon – www.amazon.com
- Metallic/Mica spray – Heidi Swapp sprays are great – www.heidiswapp.com


Steps
- If you want a more aged look to the collage, ink the edges of some of paper with an ink pad and blending tool. It is easier to do this step before laying down pieces.
- Rip and tear pieces of the ephemera. Continue to do so as you work on the piece to fill in blank areas and to add interest.
- If desired, cover work surface with plastic table cloth.
- To make the pages for my book, I laid down a sheet of kraft paper to cover my table. If making a collage for book pages, think about the size of the signatures. Collage paper can be ripped or cut to size from a larger sheet to make multiple pages or signatures. In my book I used both collaged and watercolor paper for the signatures.
- Using a light layer of gel medium or glue, brush background paper with glue.
- Place ephemeral down creating a base surface. Brayer paper down with your hand. Make sure to overlap and tilt paper at various angles. Let dry or use heat gun (make sure not to burn the paper).
- Lay additional layer of ephemera down and brush top of paper with glue to adhere. Make sure to overlap ephemera to the base pages. Let paper extend over the edge of the base layers. Trim as needed. Fill in space with torn pieces of ephemera.
- Use glue stick to adhere any edges that are sticking up.
- If desired, stamp images on with rubber stamp using waterproof ink.
- Apply a thinned down layer of glue to the entire surface. Let dry.
Collage can now be used for art projects.


Additional Steps for Aged Look
- Select an acrylic paint in a brown or yellow hue. Water down the color to a wash consistency. Brush mixture over the collage. If the color is too dark, wipe off with a paper towel. Let wash puddle where edges meet. Let dry or dry with heat gun.
- Use color pencils to mark, doddle, edge, and fill in areas.
- Shade images with charcoal pencil.
- Write notes, underline words with pencils or ink pen.
- Mist or use paint brush to add spots of color with acrylic paint or India inks.
- Spray with a mica based spray if shimmer is desired.
- Rim a glass with paint or ink lay on surface to create circles on the paper. Tilt paper to create run lines on the paper.
Tip
To avoid clogging mica spray bottles, don’t shake the bottle, roll bottle between your hands to mix.
Book Making Part 3 – How to Assemble a Book will be posted next week.
Please make sure to follow this blog and like, share and comment. Cheers!

